Trekking and hiking poles are designed to give you extra stability, which results in extra confidence. Whether you require stability on sidewalks and park paths or hiking difficult mountain trails, a set of poles can be very helpful for either purpose.
These poles can help relieve stress on your joints, especially when going downhill or uphill. Moreover, these are significantly beneficial to overweight people and people who have osteoarthritis. Even people with Parkinson’s disease or multiple sclerosis can have good stability while walking with poles.
Also, you will be able to get the best benefits if you are using your trekking poles correctly. It is best to learn how to grip the poles, use the right arm and leg motion and adjust them properly while going uphill and downhill. With trekking poles, you will be able to confidently walk, hike, trek, and backpack across uneven lands.
Fortunately, hiking poles are quite easy to use once you have learned how. Before you purchase a set of poles or head out onto the trail with poles you may already have, make sure your hiking poles are working for you as best they can.
Do Hiking Poles Even Help And Do You Even Need Them?
Having hiking poles are not just convenient, they can be vital for some people in some situation. However, even with their benefits, many hikers opt to go without poles. These are not necessary for hiking, but they can be a huge help when it comes to supporting your joints.
Their advantages are not just limited to keeping you balanced while the trail gets rough. But, they are known to ensure that your upper body is doing its job as well. Since your arms are helping, your legs can get a bit of a break and relief. This happens because you are spreading out the load along with more of your body, which in turn helps you hike farther with lesser pain.
In short, these are some more benefits you can get while using the trekking poles:
- Useful if you need an extra boost while going uphill or something to rely on while going downhill
- They help you keep your overall balance while hiking on different landscapes
- Can help to keep you from falling or straining certain muscle groups too much
- Extremely useful on very slippery surfaces like muddy rocks, which makes a difference
- Allows you to work out more muscle groups of your body
- Lets you use your back, shoulders, and arms – making them stronger as well
- If you are prone to sprains, they will keep you stable and allow you to avoid too much knee strain
- You will be less likely to sprain your ankles because you can keep most of your weight off of them even if you stumble
- You will be able to go farther, work harder as the full body is getting a workout and the poles are balancing out your effort
- They help people take it slow and just enjoy the hike as it will be a little bit easier
- You can use them to challenge yourself on the adventure
You can learn more by reading the entire article here: Do Hiking Sticks Really Help? Are Hiking Poles Worth The Money?
Can You Hike With Just One Pole Or Do You Need Two Poles?
There is no hard and fast rule about whether you need, need one or two, or not need hiking poles at all when it comes to the activity. Nonetheless, the right answer to this question will be whatever works best for you and just you. Moreover, if one of your trekking poles has broken or if you just want to use a single-pole to have one hand free, then you can successfully hike with just one pole.
Overall, as mentioned before, trekking poles do help out a bit with balance and stability. A single-pole can also be useful if you are someone who has some trouble with one leg. You may need some extra stability on one side, but not the other. Nevertheless, you can get more benefits using a pair rather than just one.
Your muscles in your upper body, including the shoulders and triceps, will receive an equal amount of strain and exercise. If you opt for just one trekking pole, then you will only be working those muscles on one side. You could choose to switch sides regularly, but it’s generally easier to just use two poles to begin with. Adding to your overall balance, they can help to even out the weight of a backpack so that it’s easier for your body to handle.
In short, yes you can hike with only one pole and you will get some benefit. Nonetheless, using two poles will get you a more symmetrical workout, more balance, enhance endurance, and even boost your overall speed.
You can learn more by reading the entire article here: Is One Hiking Pole Enough?
What Is Involved In Holding The Hiking Poles?
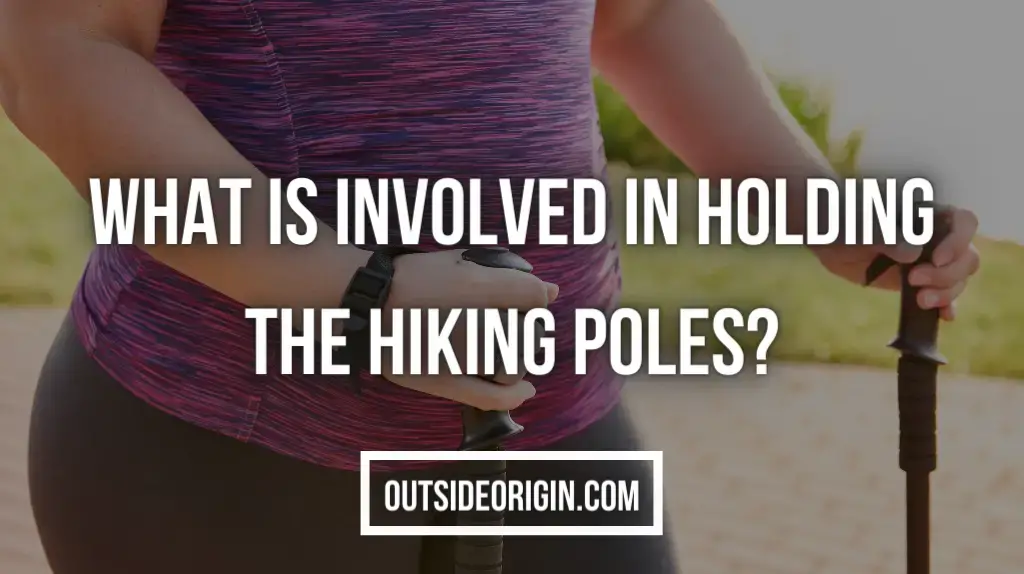
Learning to hold or even just directly holding the hiking poles is quite simple most of the time. Good quality hiking poles will have grips attached to them that you will naturally grab. You will probably hold them the same way that you would hold a walking stick.
- Use gentle movements of your wrists to move the poles forward with you as you walk.
- Generally, while the poles are touching the ground, you would want to keep your elbows bent at around 90 degrees as you grip the handles.
- In addition, your wrists must be straight, not bent up or down to accommodate the handle.
- Only the elbows must be bent at around a 90-degree angle and a bit wider could also work out.
- Most often, hiking poles have a loop tied to the top of the poles and you can loop your hands through it just like you do to a strap-on camera to support it.
- These help the poles to stay attached to or even near your hands if they slip and if you tighten the loops a bit, it can give you some wrist support.
Your grip must not be too tight as you are holding or using the poles. Moreover, you could feel like you want to hold on to them tightly, but in the end, it will just put stress on your muscles, which is unnecessary for your body. Along with that, you can end up with achy hands or wrists that will just make it difficult to do or complete your outdoor activity. So, trust in a light grip that will tighten if the situation calls for it.
You will need to learn how to move with them once you are holding the poles. Generally, you will move them one forward at a time. Take a look at how you walk to create the most efficient motion. Practice moving the pole in your right hand forward at the same time if you place your left foot forward first. It can take time to get used to such movements, but moving your feet with the opposite arms at the same time will eventually become a comfortable habit.
What Is The Right Length For Your Trekking Poles?
You want the trekking poles to be the length at which you can hold them with your elbow at 90 degrees when you are using poles for stability. The tips must be on the ground next to your foot and hold them at correct angles, which gives you the best leverage for the times when you need to bear down on the poles.
Poles that can be adjusted have markings in centimeters – while going uphill, you may want to shorten them by five centimeters to ten centimeters and while going downhill, you may need to lengthen them by five centimeters to ten centimeters. Furthermore, sometimes you will be on a slanted trail long enough to want to shorten one pole and lengthen the other.
Additionally, most of the adjustable poles are made for 5 feet to 6 feet tall people. Also, if you are shorter, then there are poles designed for kids that can fit you well. If you are taller, then look for poles that have a higher height range. Lastly, fixed-length poles could be suitable if you are a beginner taking an easy trail or mostly walking on level ground.
When & Why Adjusting The Length of Your Trekking Poles Is Needed?
Firstly, learn how to adjust the length of the poles and get used to adjusting whenever required. Stand with your elbows bent at 90 degrees, adjusting the length so the grip fits into your hands at that level. Moreover, if you notice that you have to lift the poles often over rocks or grass then you may want to shorten the poles a little.
In addition, if you have a 3-section pole, then you may want to set the top section at the midway point and then adjust the bottom section to the right length for walking on the level. When you want to adjust the length, you can just adjust the top section.
You can learn more by reading the entire article here: How To Adjust Trekking Pole Height
How, When, Why, Where – Using The Straps And Gripping The Poles
If you have poles with straps, then bring your hands through the straps and then grip the poles. This results in the strap being over the back of your hand and not twisted with your thumb over the straps. Adjust the lengths of the straps so the poles are secure in this position.
- Some poles have straps, which are labeled ‘left’ and ‘right’ for convenience.
- You will be able to release your grip on the pole for a brief time by using the strap in this way without it falling to the ground.
- You must have a relaxed hold on the poles and be able to rotate them forward and backward between your thumbs and forefingers.
- The handgrips are usually angled in a perfect way to assist with this task.
Also, it will take minimal effort to flick the poles forward with each step if you keep your grip relaxed. Hold the poles between your thumbs and forefingers without using the other fingers to get used to the right grip. Then, you can close the other fingers loosely as a tight grip on them will just tire your wrists and hands.
Nonetheless, there is no reason to worry as you will naturally and instinctively tighten your grip if you feel yourself slipping or need a point of stability for a moment while walking.
You can learn more by reading the entire article here: Trekking Pole Straps: Ultimate Guide
Arm Motion – The How & The Why
Keep your elbows close to your sides as you walk while using the trekking poles. Flick the opposite side’s pole forward with each step and this is a small upward motion of the forearm or a slight flick of the wrist. It will cause the pole to pivot forward correctly if you have a loose grip. The opposite arm/leg motion is important as well because if you bring the same arm and leg forward, you will end up with a swaying gait.
If the above movement does not come naturally to you, then you may need to practice it to get better. It is simple to just walk while dragging the poles behind you with a natural gait. Also, you should fall into the opposite arm/leg pattern and get used to doing it subconsciously. Bring the poles up enough so that the tips touch the ground with each step. Furthermore, there is no need to firmly plant the tip into the ground.
Planting, Doubling, Using the Poles For Speed
The tip of the pole plants lightly for stability and simply touches the ground before you are flicking it forward again with your next steps.
You can bear down on them a bit if you want to add a definite action and get a little upper bodywork. Simultaneously, this adds a bit of thrust while going uphill or on a leveled ground and a braking action while going downhill. Also, make sure to apply pressure back and down when using a plant/push technique.
You may want to place both poles in front of you at the same time while going uphill, downhill, or negotiating curbs or stairs. Flicking both poles forward with an easy motion as done in the swing and drop technique, walk one to four steps forward. Swinging the poles forward again at the point if you can use their stability.
Pick up the pace if you are feeling confident and relax your arms and put a little shoulder action into each pole movement with the tip of the pole planting slightly behind your body. By planting the pole a bit with each step you can give yourself a little more propulsion when it is behind your body.
Different Actions – Downhill/Downstairs, Uphill/Upstairs, Turn, Sit, Stand
Loosen the straps or take out your hands when you go downhill as they tend to get tighter with an increased angle. Henceforth, you can lengthen the poles by five to ten centimeters. But, instead of planting the poles parallel with your body, you will plant them slightly ahead to give a bit of braking action.
On your way down, take small steps, keep your knees soft, and keep the poles in front of the body. If you are trekking on steep hills with a wide path, you could zigzag back and forth across the trail creating small switchbacks. When going downstairs, place both poles for stability on the next lower step and step down. Make sure your poles do not fall behind you while you are going downstairs.
Whereas you may need to shorten the poles while going uphill and keeping them close to your body. Here, you should not plant them ahead of you since you need a little push up the hill, not a pull. Push yourself up for stability rather than pulling while going upstairs. Moreover, planting both next to your feet you need to step up, bring the poles up to meet your feet.
If you are making a turn, be sure to keep your poles at your sides rather than crossing them in front of you. You could end up tripping yourself with your own trekking poles and fall or get injured. Additionally, trekking poles can assist you in standing up from a sitting position. But, do not put your hands through the straps while doing so. Position them with the tips angled backward towards you so that they rise with you.
Gain better balance while sitting down by taking out your hands from the straps and gripping them as you lower yourself. One pole on either side of your body can give you stability using both poles while sitting or standing. Moreover, you could place one pole in the center in front of you for assistance.
Brief Notes On Navigating Different Landscapes
(A) Flat Land
- The easiest outdoor area to use trekking poles on
- It can be used as a practice to prepare for more uneven and difficult areas
- You can push backward and downward on the poles against the ground as you walk
- It will add a touch of speed and get your muscles working a bit more
(B) Uphill
- Poles can be great here for balancing out the effort
- Avoid setting your poles too far from yourself
- Main idea is to use them to help pushing upwards and forwards
- Try not to pull yourself to the top
- Can be used as a strategy to make it easier on the muscles
(C) Stairs
- Can be a tricky place to use trekking poles on
- Should not have a lot of trouble IF using the right technique
- Going up – keep the poles planted beside your feet and use them to push you forward
- Going Down – keep the poles settled on the front step to balance yourself as you step down
(D) Downhill
- You would need to adjust the lengths here
- The angle is different than when you are traveling uphill
- Hikers typically elongate poles for a better and comfortable gait
- While moving, walk carefully, try to alleviate the strain on your knees
- Keep the poles ahead of you, plant them into the ground for balance as you move forward
Final Thoughts
To conclude, you may find that you can hike farther than ever before with the help of trekking poles. You can even compare the lengths of your hiking journeys with other hikers you know or meet outdoors. Whether you are walking on a flat surface, muddy roads, or rocks, trekking poles can help you gain confidence.
These are standard hiking accessories whose value is for anyone in need of more balance and stability. Nevertheless, you can gain more tips for using poles when you have a physical condition by asking/discussing your doctors or physical therapists.
Usually, hikers carry backpacks because they need to carry more than their essentials. When you are using trekking poles, you can keep the load out of the way for good arm movement. Also, you can opt for daypacks, which are well-designed for schools or commuting. Hikers can choose daypacks/backpacks with enough carrying capacity for hikes, especially for plenty of water and layers of clothing.
Can You Do Me A Small Favor?
I have put a lot of time & effort into writing this post to provide you with the best info out there.
It’ll help me out if you could consider sharing it on your social media networks. You are also allowed to take any photo you want from my blog as long as you credit and link back!
Appreciate it! ❤️️

Hey, I am the founder of Outside Origin! I love hiking in my spare time and have gone to various different hikes. You can check out our about us section to learn more about what our team and I do over at Outside Origin.